
 |
|
This is a project I've been wanting to tackle for a long time. Two kits, AMT's 1957 Fairlane and Revell's 1959 Skyliner will provide the companents necessary for the conversion. Both of these kits were released in the late 50s/early 60s, and have been re-released a number of times. Ford's engineers faced quite a task in getting the Skyliner ready for production. The basic design for the retractable top had been completed a number of years earlier. Some significant changes were required to adapt the design to the basic '57 Ford engineering. These included stretching the rear of the chassis six inches. The rear quarter panels were also extended three inches. The rear seat was moved forward three inches, and the back of the seat was repositioned so that it was almost upright. The spare tire and gas tank were also relocated. All of this was required so that the top would fit into the trunk area when lowered. |
|
 9/6/17 - AMT's '57 Ford Fairlane kit was first released in the early 60s and has been re-released a number of times. I'll use it primarily for the main body. |
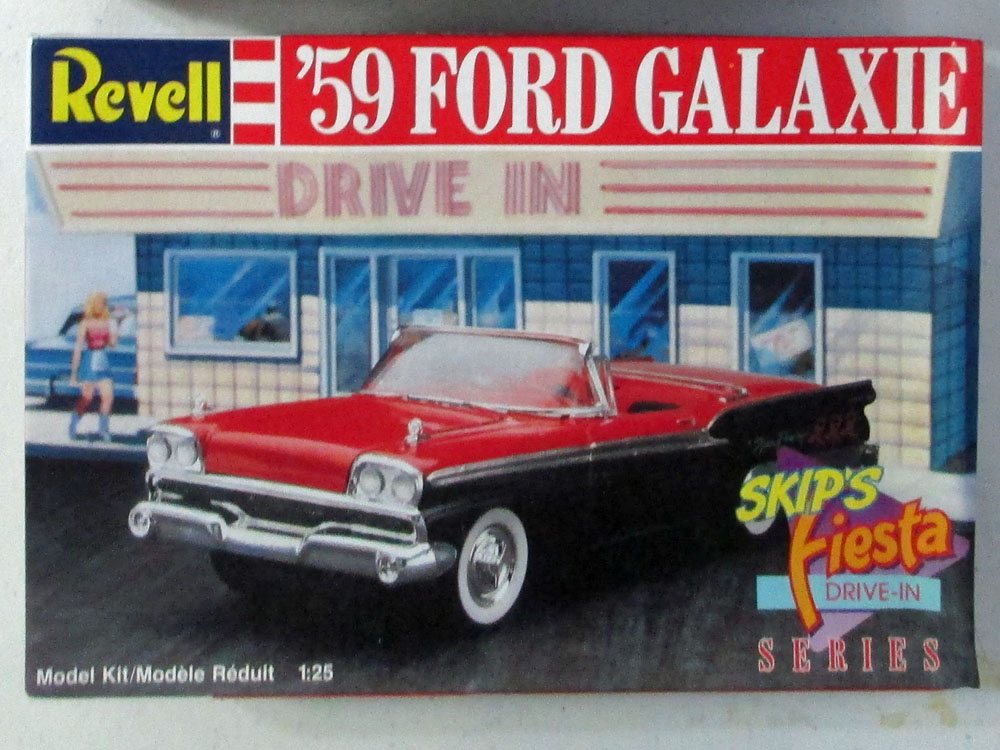 9/6/17 - Revell's '59 Skyliner was released in the early 60s and has also been re-released several times. It will provide the retractable roof components. |
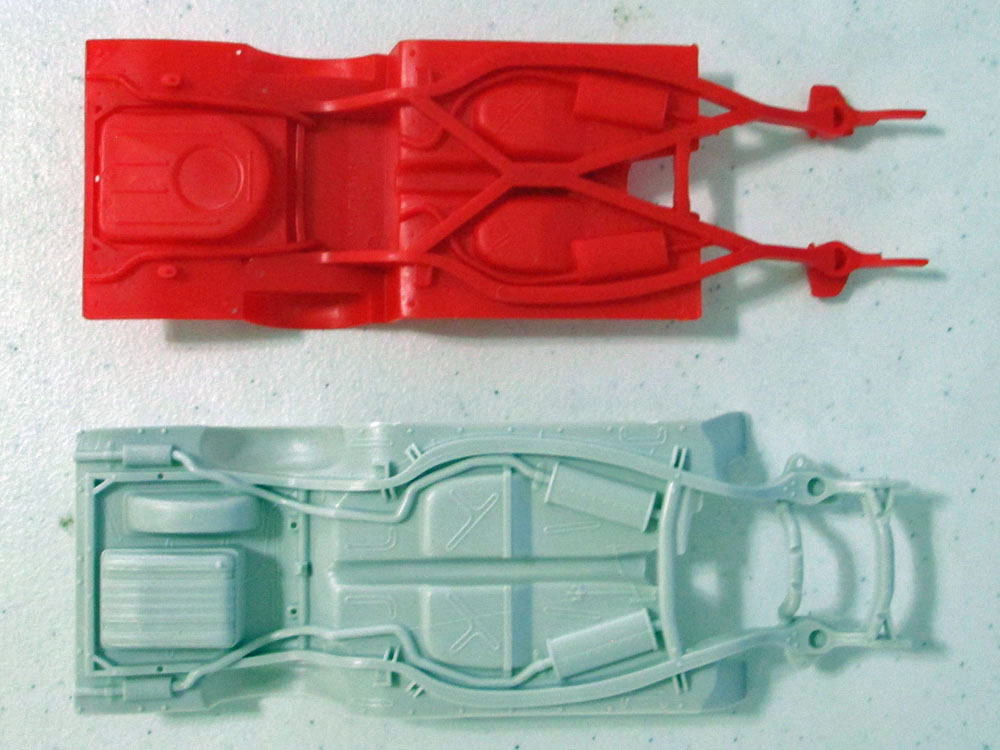 9/6/17 - I'll use the Revell kit's chassis as the foundation. It has a number of features that are specific to the Skyliner, like the addition of the center X member, extended rear length, and difference in the gas tank and spare tire well. |
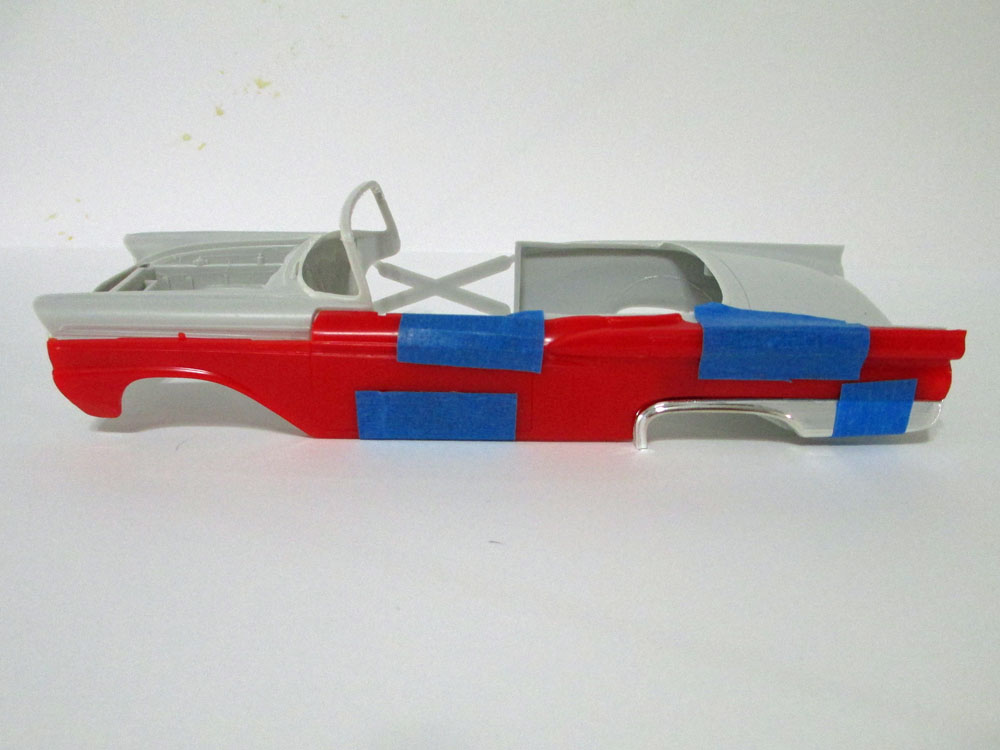 9/20/17 - Here's a test fit of the '59 side mated to the '57 body. Both match up, including front wheel openings, door and rear wheel openings. |
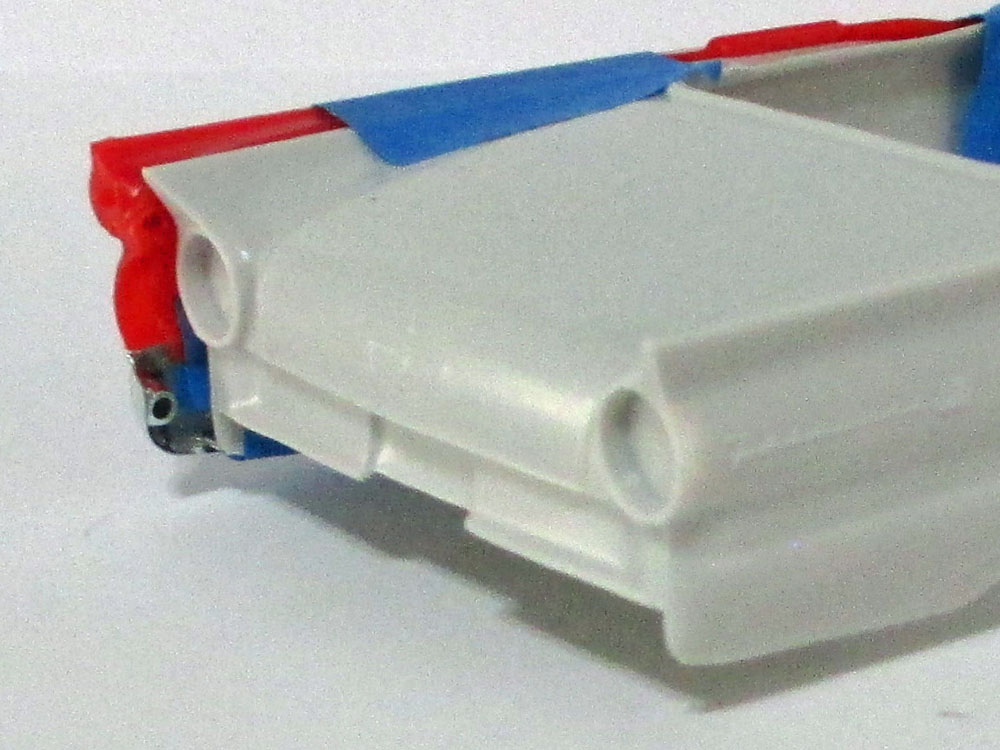 9/20/17 - The difference in length for the rear quarter panels shows up past the rear wheel openings. |
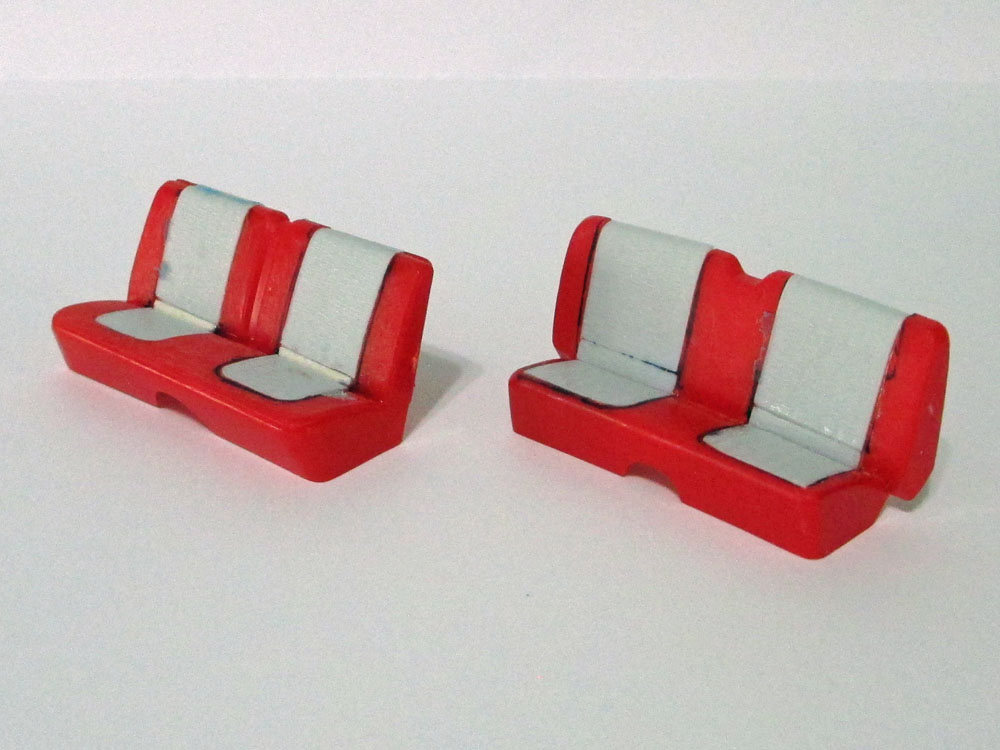 9/21/17 - I'm using the Revell chassis on this build, so to make sure things fit properly, I'm using components of the '59 interior. However, the upholstery patterns are very different between the '57 and '59. So I cut out the center panels of both and merged the '57 panels with the seats of the '59. |
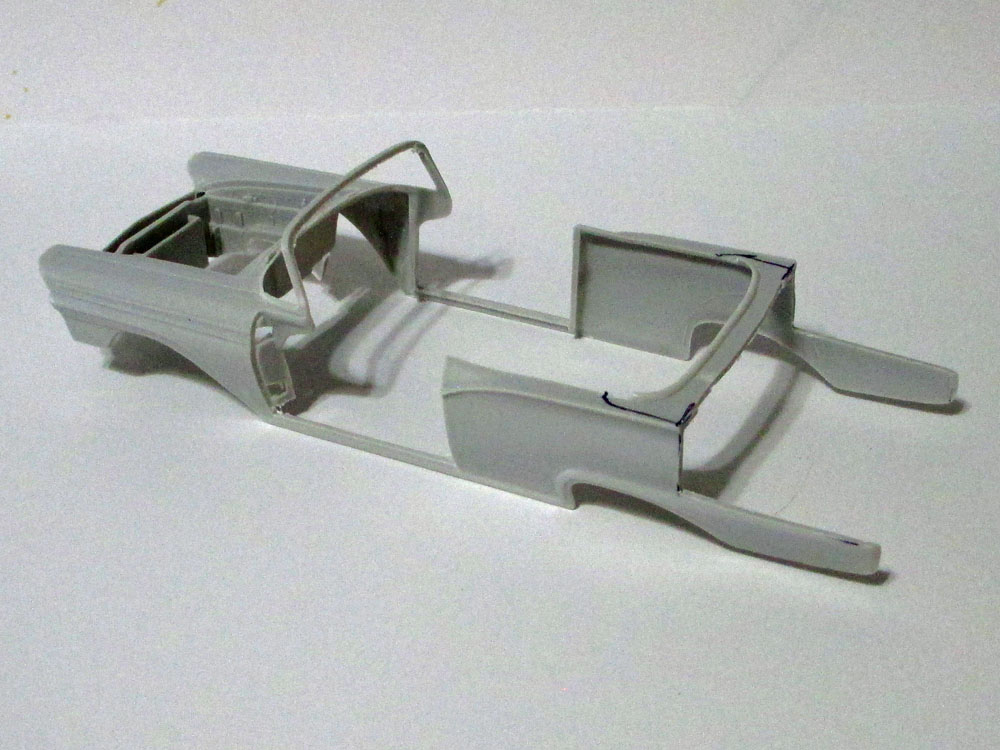 9/25/17 - I started making the cuts on the Fairlane body by removing the top. Because I wanted to preserve the Fairlane 500 script on the rear quarter panel, I figured the easiest approach for extending the rear quarter panels was to make a vertical cut in an area where the horizontal lines of the quarter panel were parallel. |
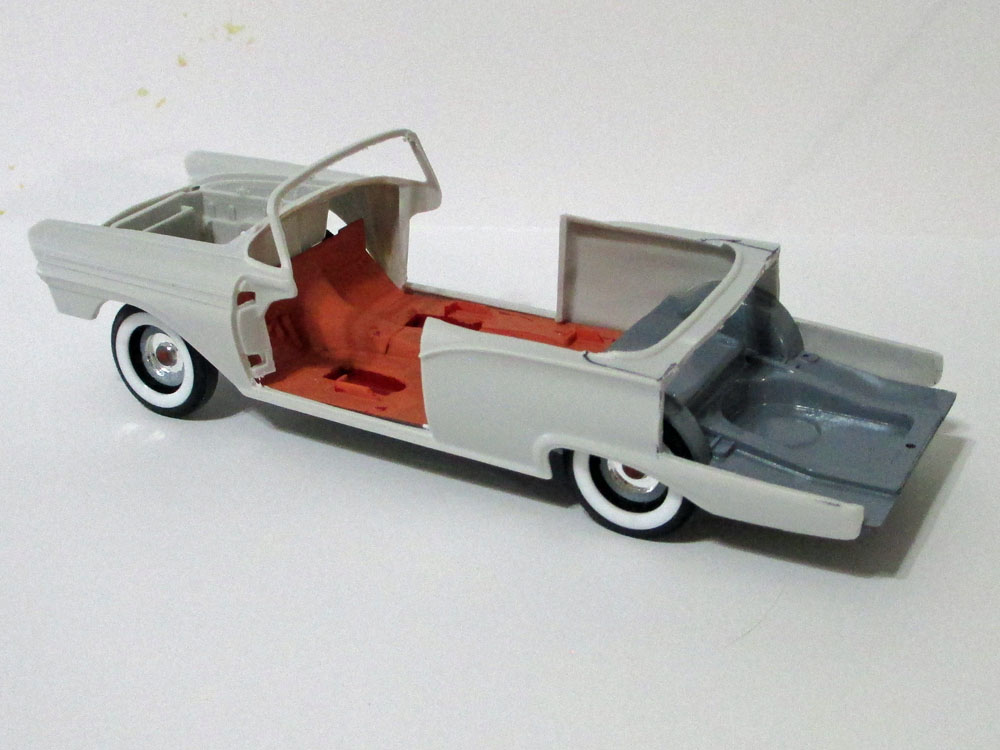 9/25/17 - I want to keep the opening doors of the AMT kit, so I also removed the lower section of the door surround so that the AMT body would fit properly on the Revell Chassis. |
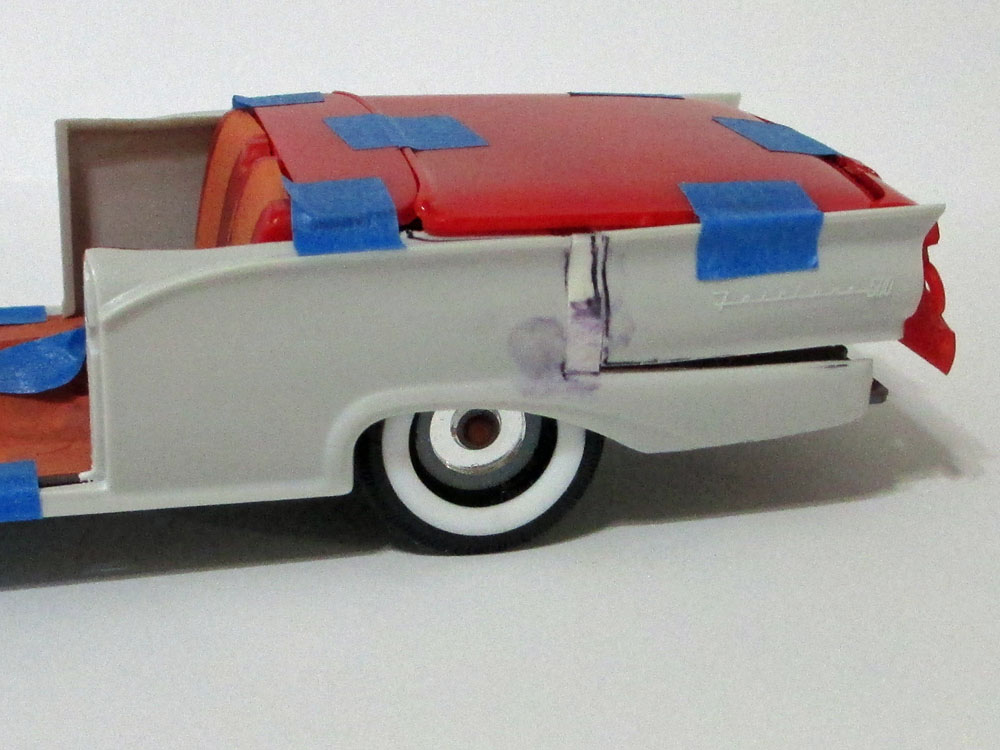 9/27/17 - I extended the rear quarter panels a scale 3 inches, using small sections from a scrap Fairlane body. |
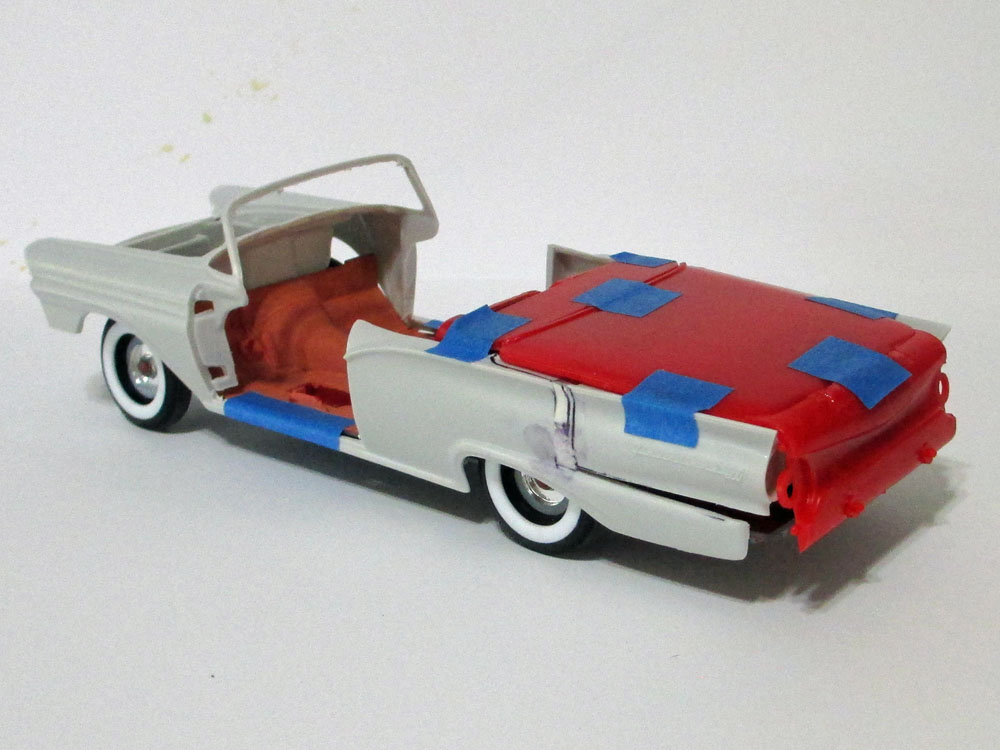 9/27/17 - This is a test fit of the components from the Revell '59 kit to see what will need to be done to adapt them to the '57. |
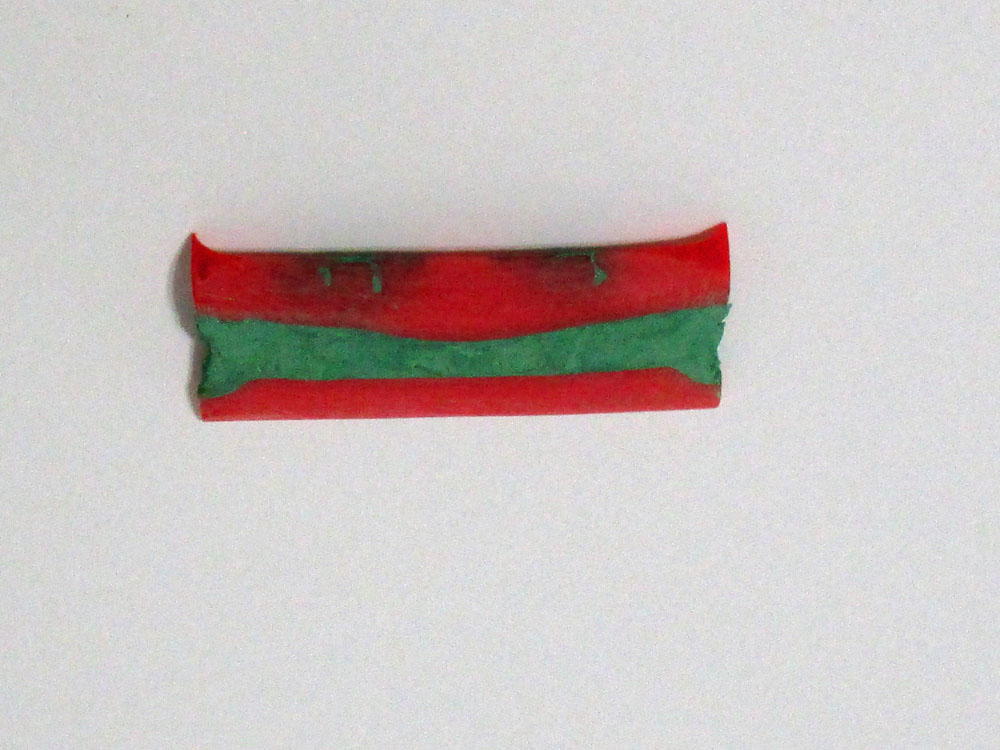 10/3/17 - The Revell kit leaves a little to be desired in the way that the trunk lid opens. I removed the tabs from the trunk lid and added them to the rear panel. The '59's rear panel has a recessed section, but the '57's is flat. I filled the recessed portion of the panel. |
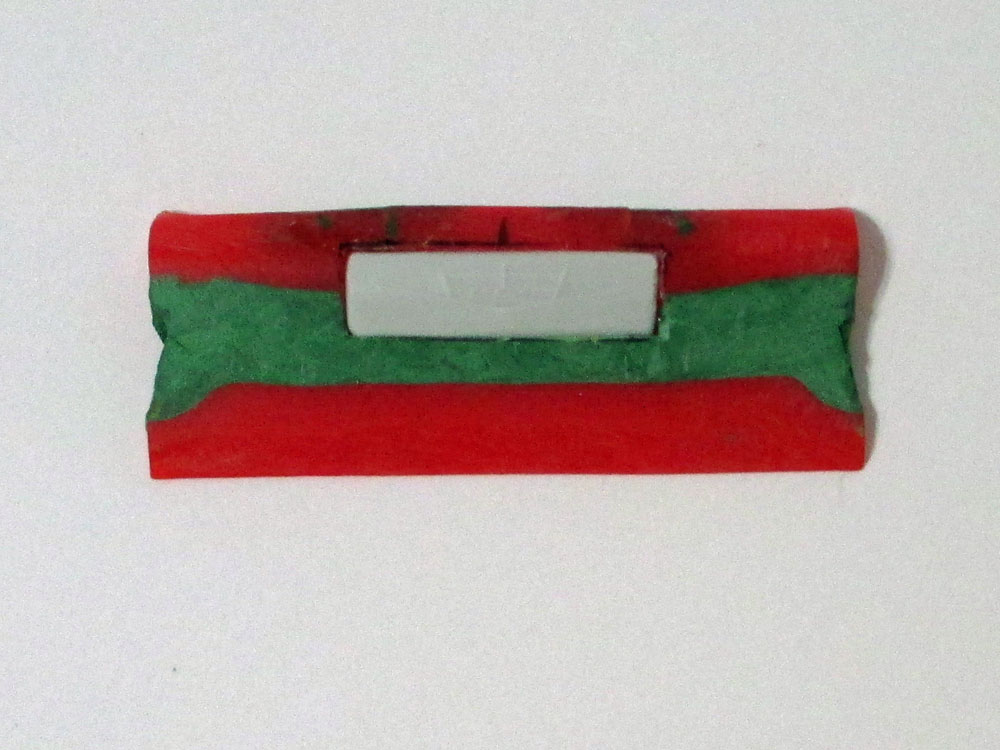 10/3/17 - I wanted to preserve the Fairlane emblem, so I cut it from the trunk of the '57 and inserted it in the rear panel of the '59. |
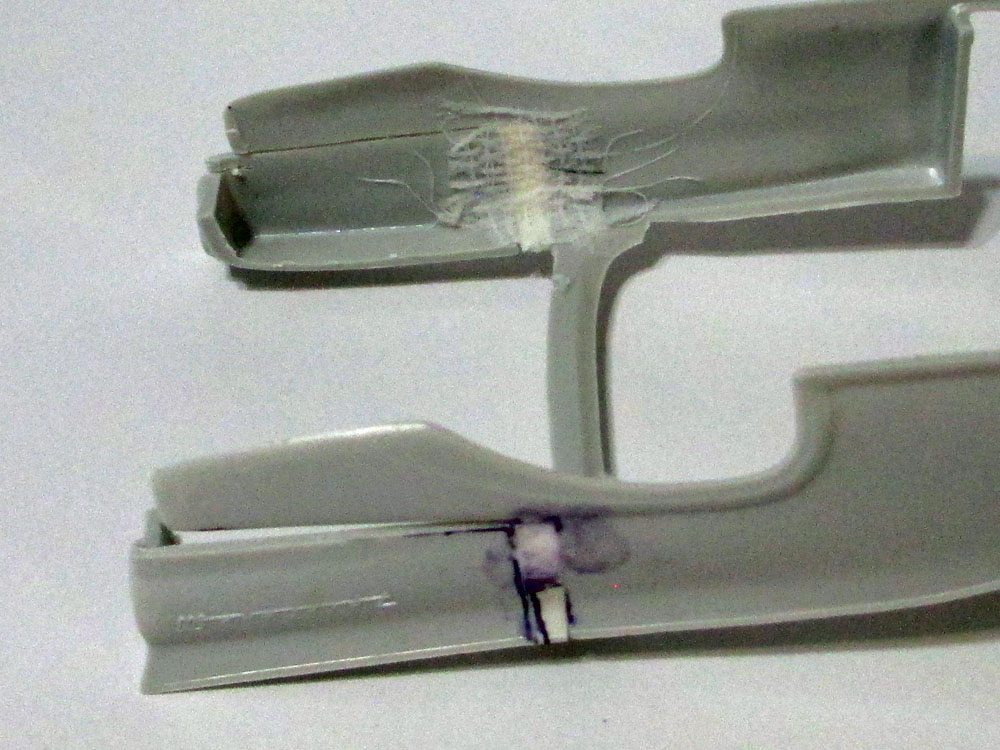 10/4/17 - I used gauze and white glue to reinforce the joint where the rear quarter panels were extended. |
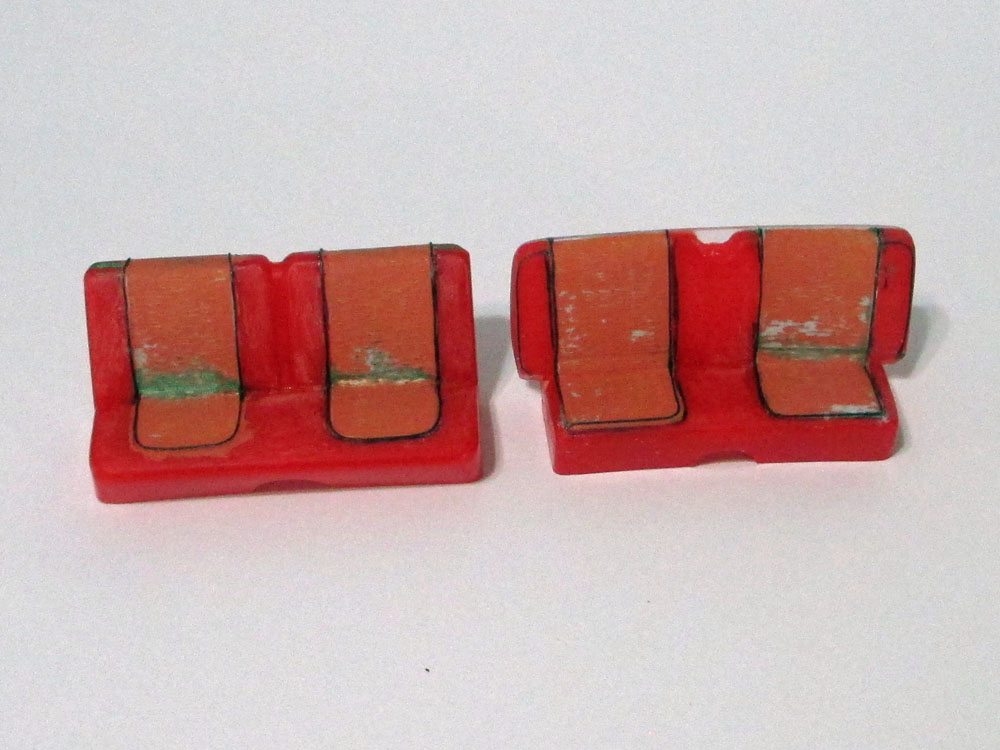 10/4/17 - I used fishing line and white glue to simulate the piping around the seat inserts. |
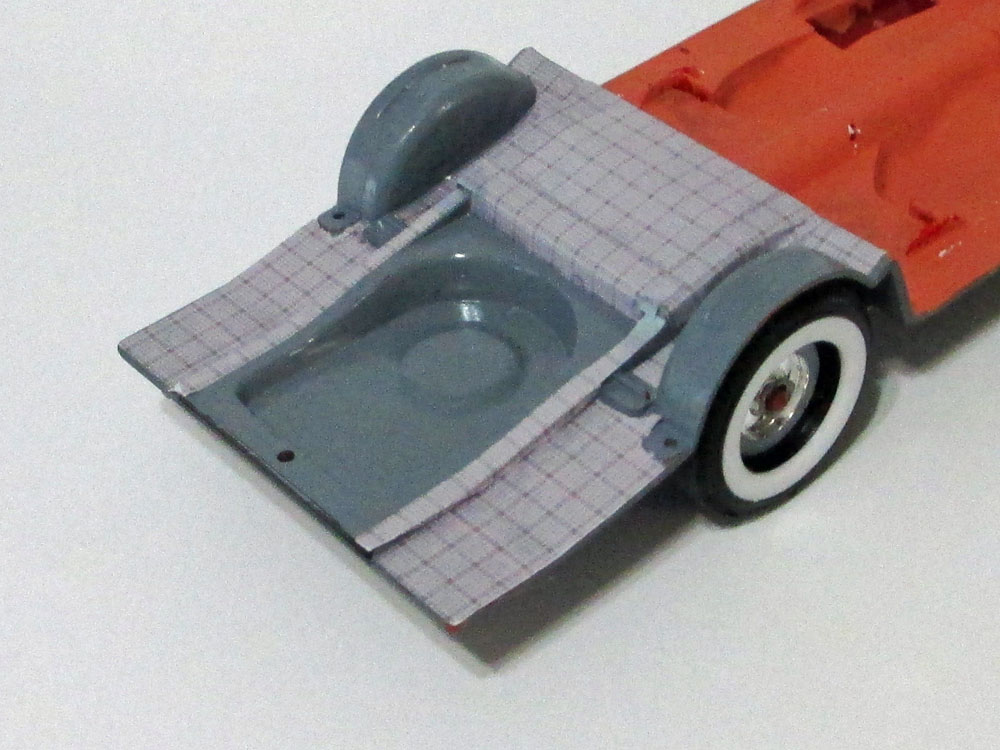 10/4/17 - I found a photo online of the '57 Skylliner trunk mat. I resized it and printed it out, then applied it to the chassis assembly using thinned white glue. |
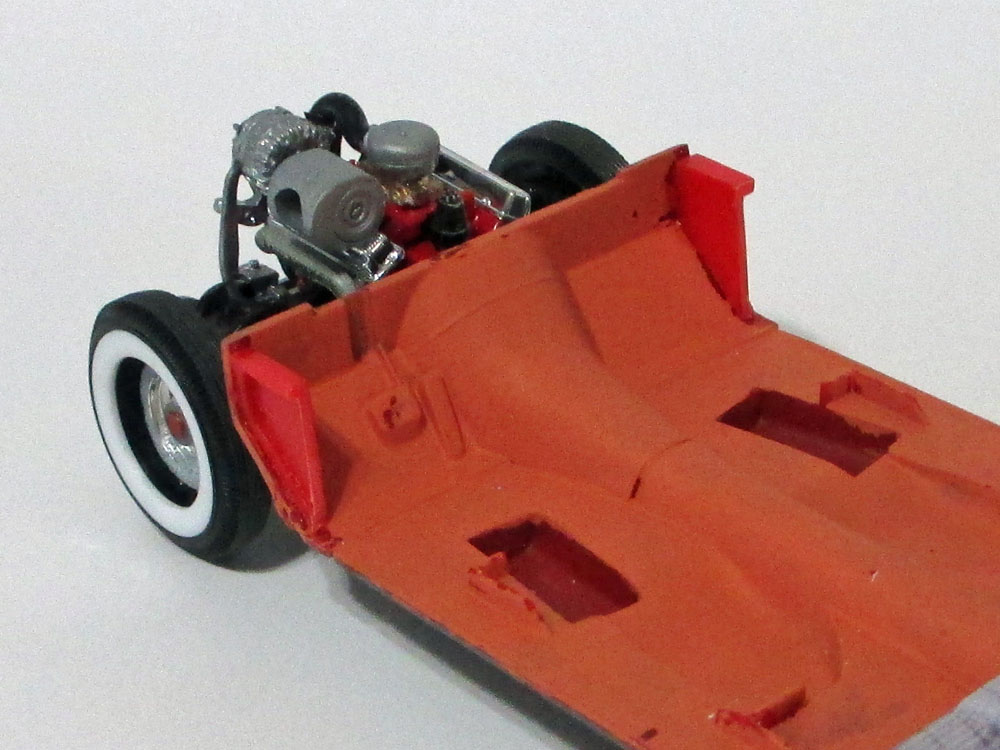 10/4/17 - I removed the front kick panels from the '59 and added them to the chassis assembly. |
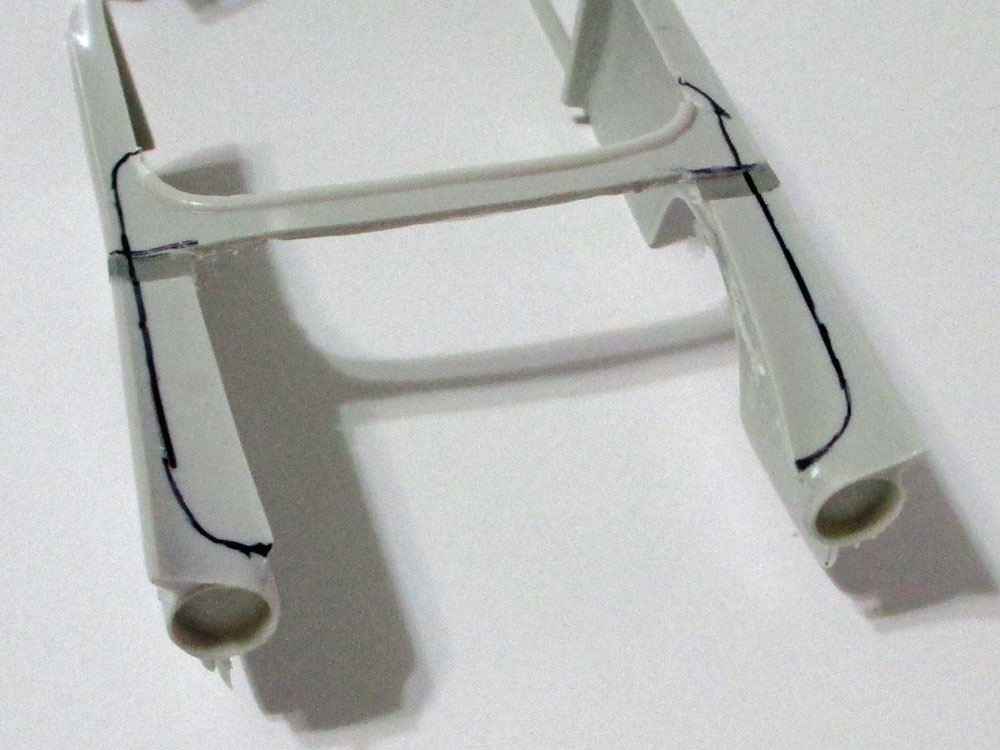 10/5/17 - I marked where the rest of the '57 body would need to be cut out to accept the '59 deck lid. |
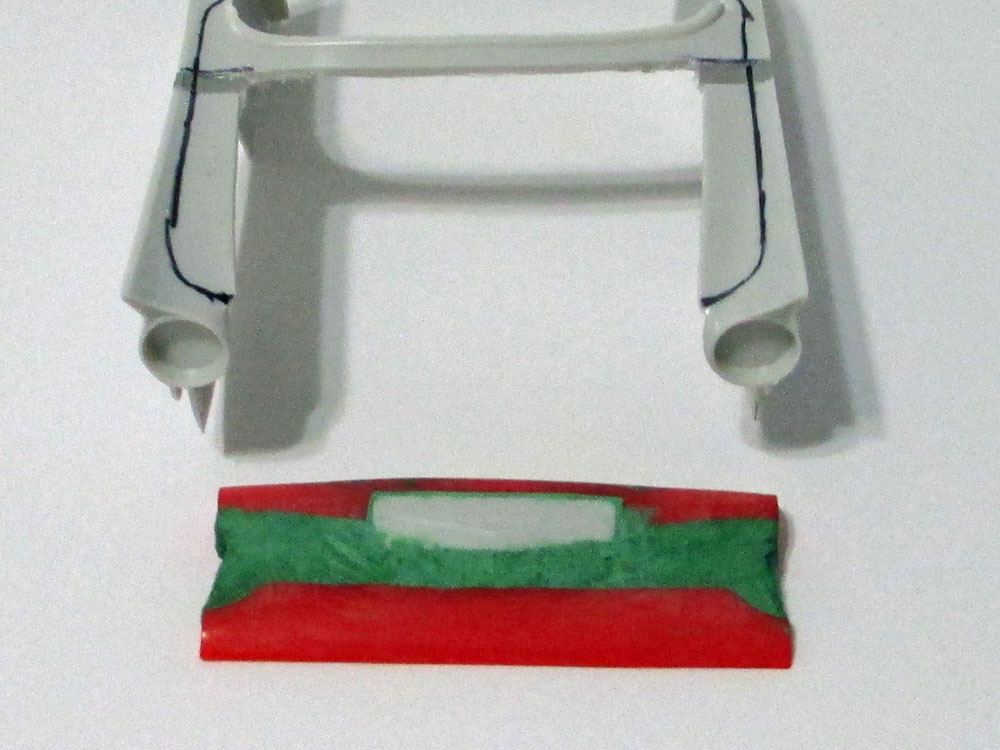 10/5/17 - Before making the cuts in the '57 body I wanted to add more structural strength by installing the modified '59 rear panel. |
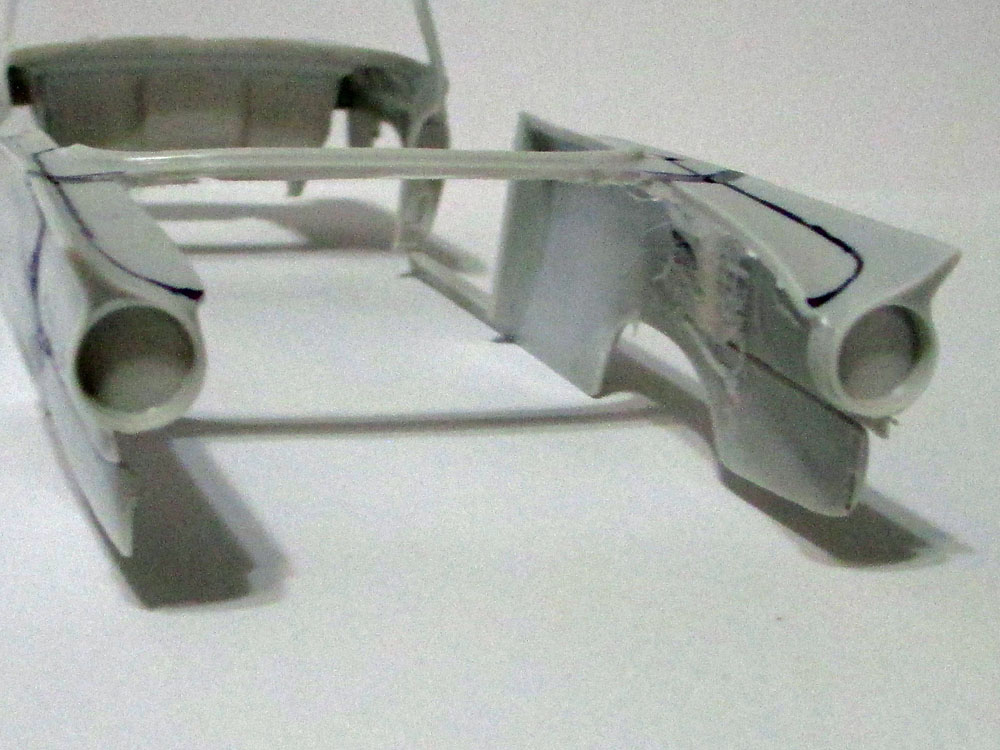 10/5/17 - First I trimmed around the taillight bezels. |
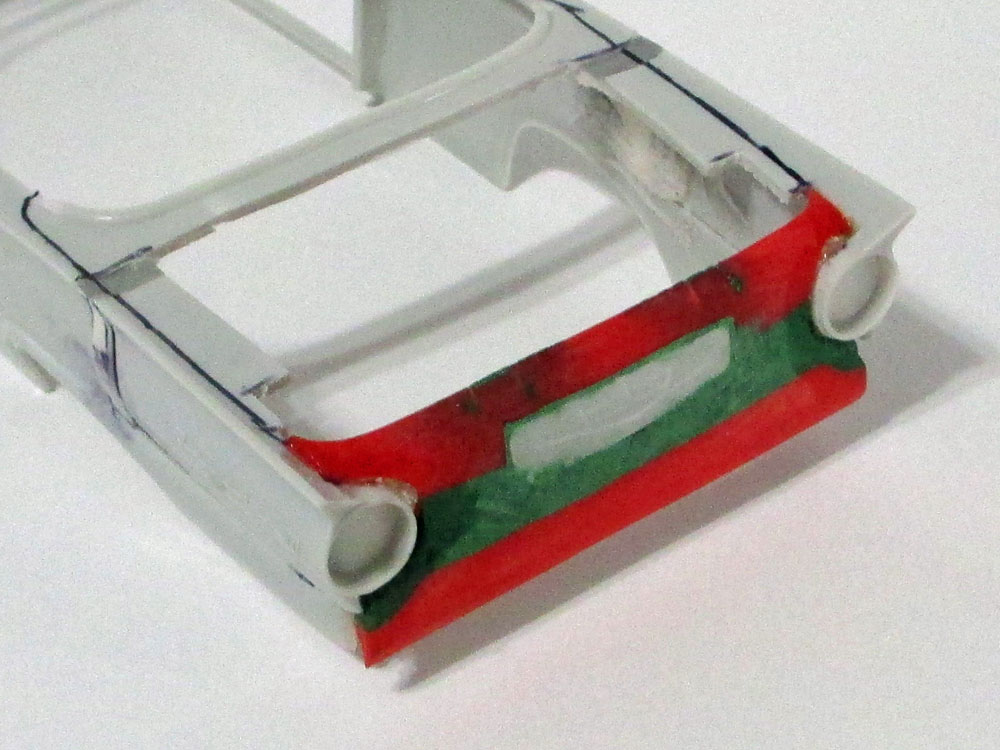 10/5/17 - After a good deal of fitting, I got the rear panel mounted to the body. |
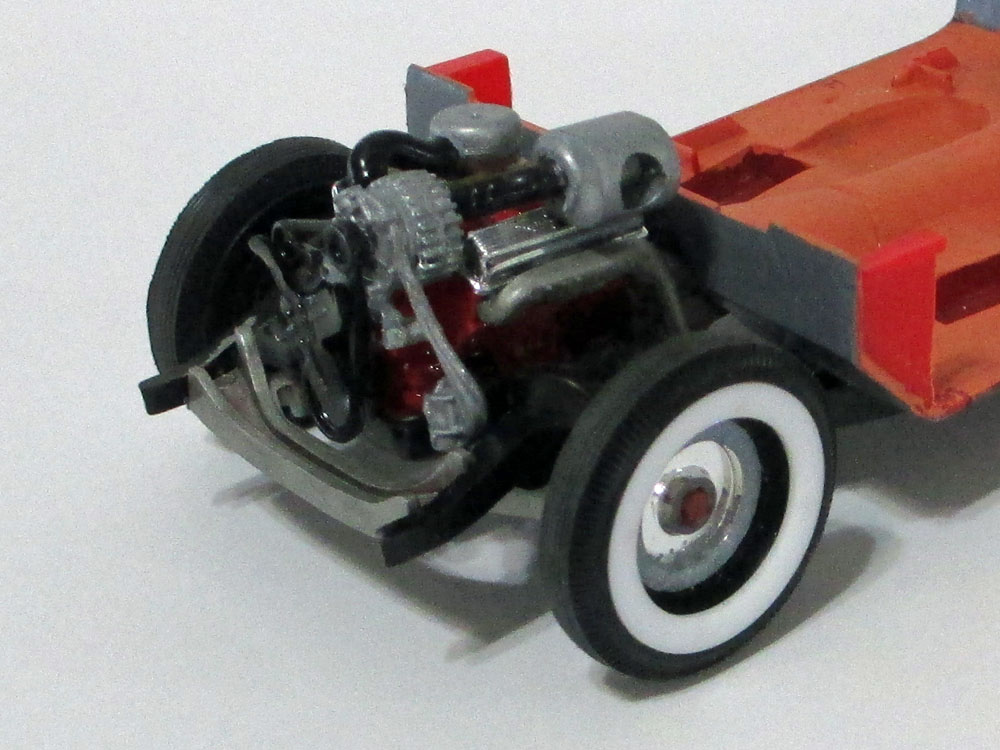 10/5/17 - I wanted to have the F code supercharger option. I used the basic engine assembly from the AMT kit and added the supercharger components from the Revell Del Rio wagon kit. |
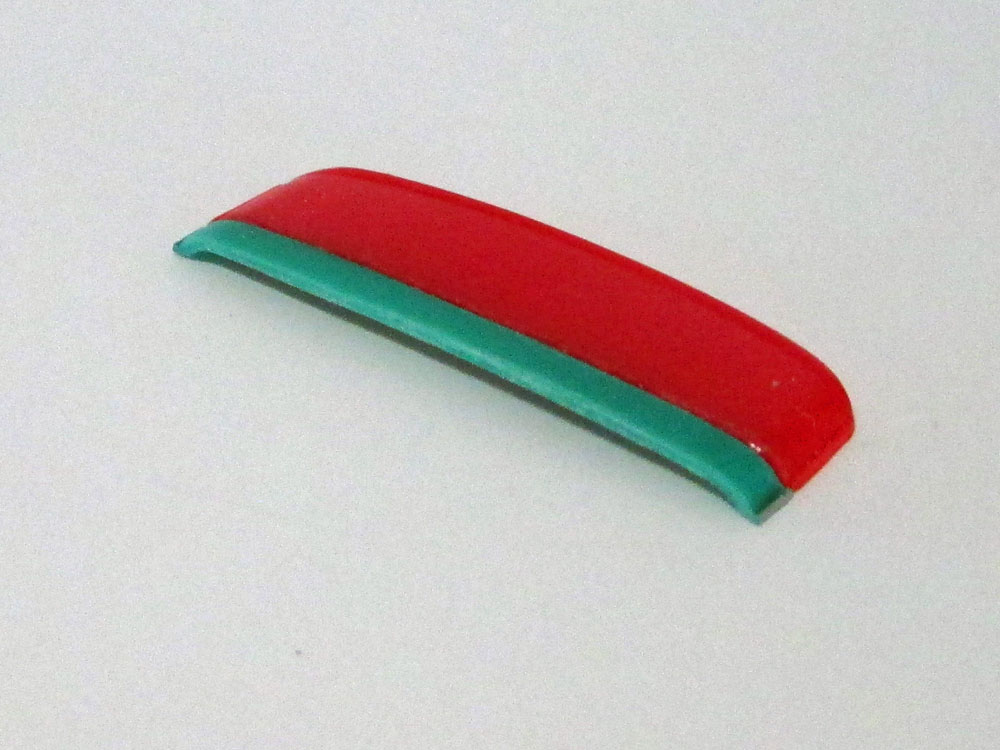 11/11/17 - The front flipper on the '57 is around 3" wider than the '59, because the '59's windshield curves up into the top area. Fortunately I had a junked '59 Skyliner in my scrap heap, so I cut a section from it which I added to the '59 kit's flipper. |
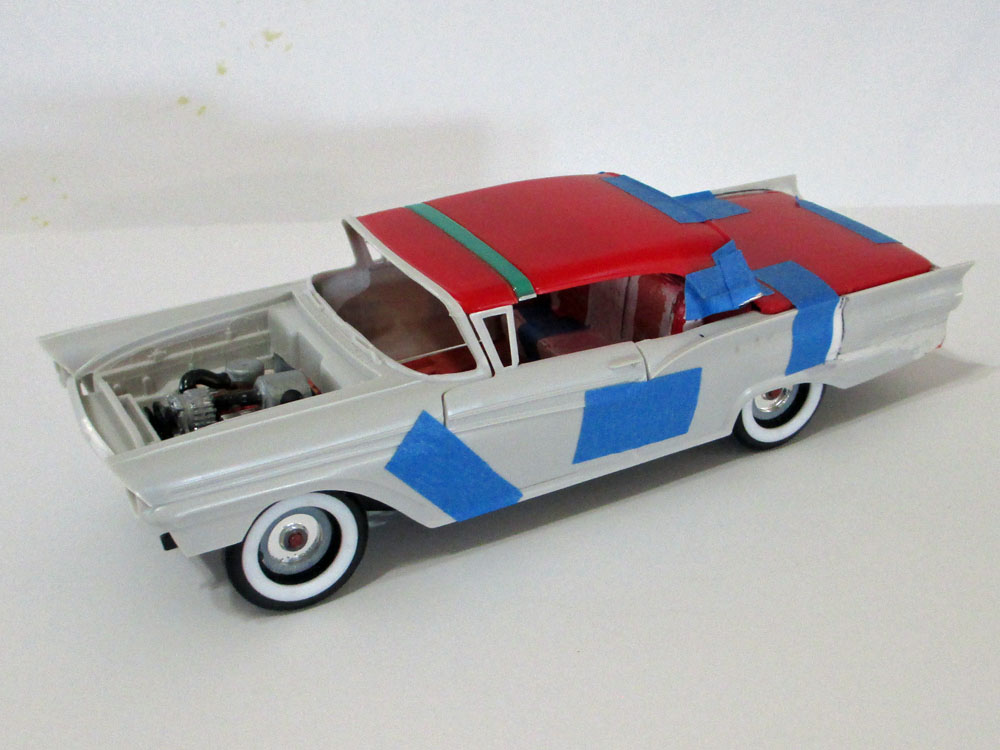 11/11/17 - Here's the first test fit of the top and deck lid. The front flipper still needs to be shortened a little, and I still have to finish fitting the deck lid to the body. |
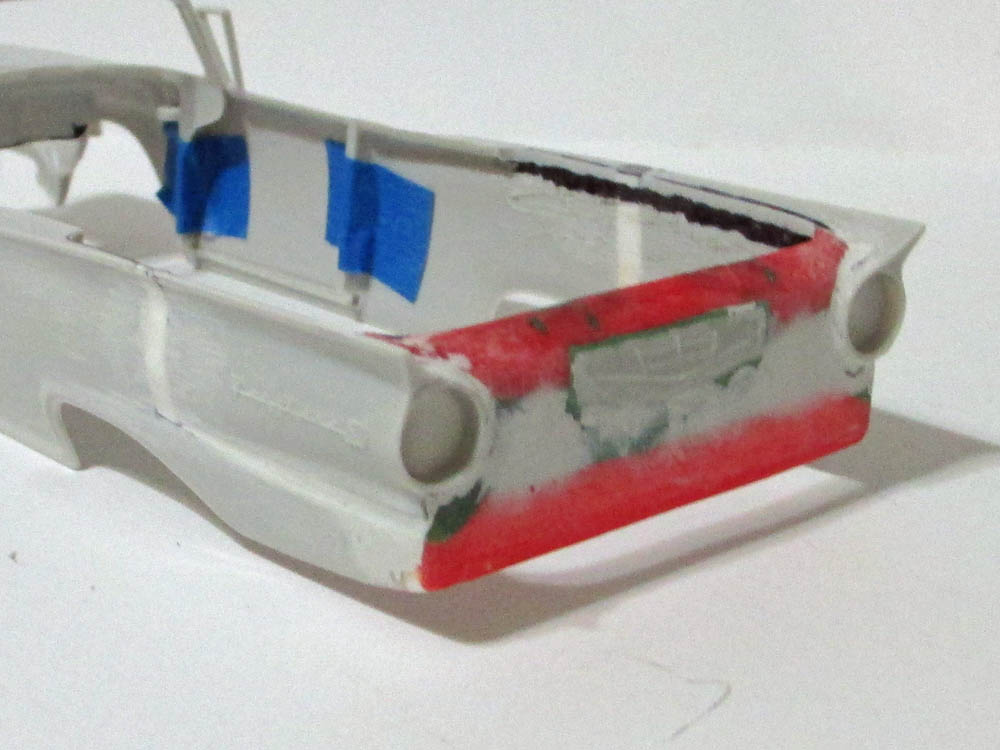 1/8/18 - The rear body work is progressing nicely. A little more filling and sanding and it will be ready for primer. |
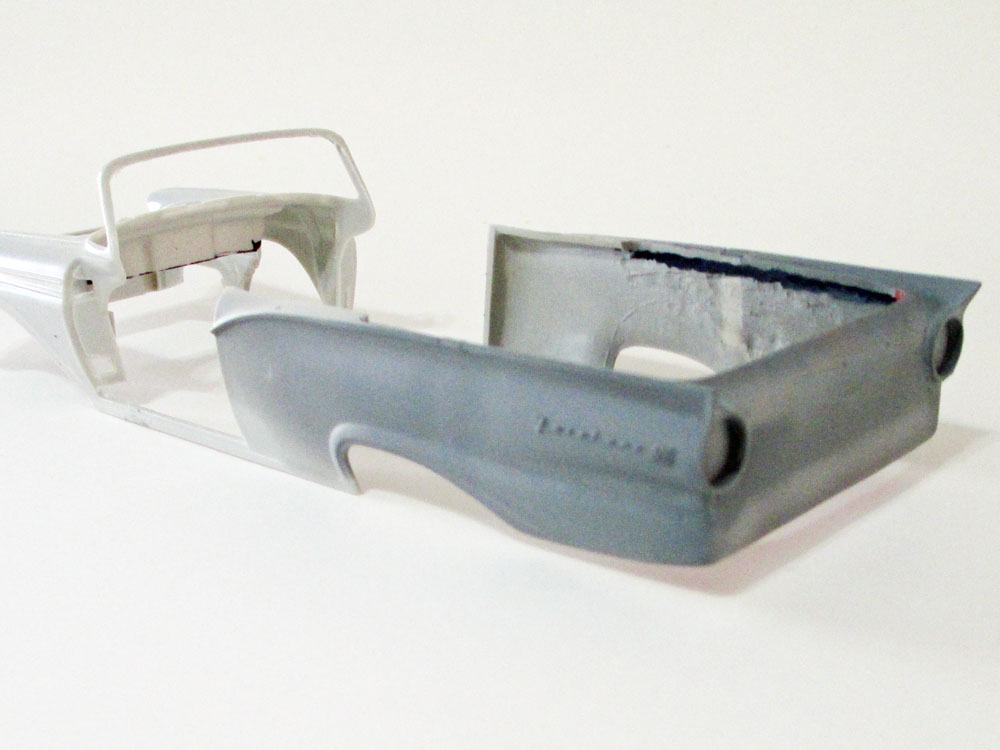 2/24/18 - Here's the first light coat of primer. I'm very pleased so far. A bit more body filler in a few spots should do the trick. |
|