
7/18/00 - This is what it looked like when it arrived in the mail. |
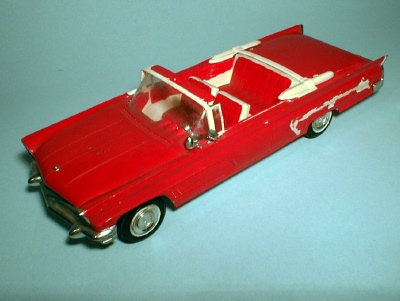
7/18/00 - It had been brush painted with enamel. Some of the custom accessories had been used by the original builder. |
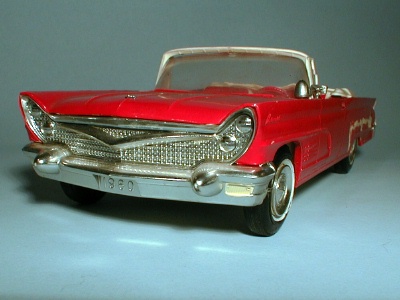
7/18/00 - Use of the custom grille bar caused some damage to the grille area. |
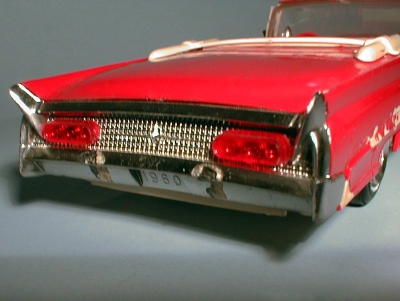
7/18/00 - As did the custom taillights. |
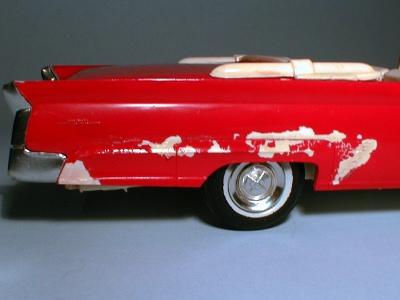
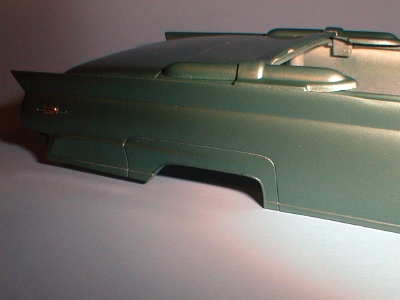
7/18/00 - The custom fender skirts also caused some problems. |
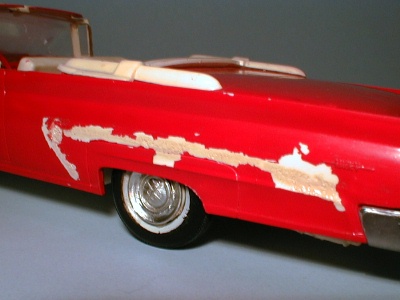
7/18/00 - Fortunately the damage wasn't too bad. |
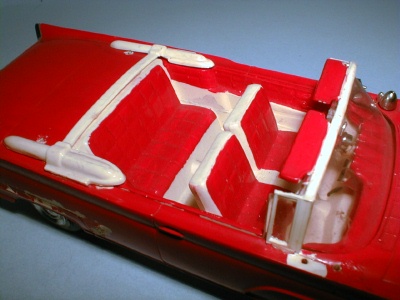
7/18/00 - The interior also needed some work. |
|
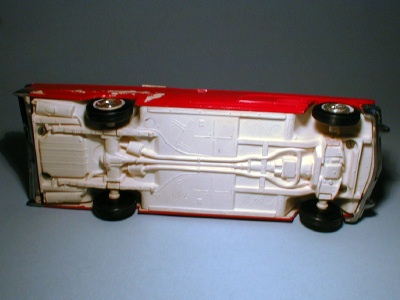
7/18/00 - The chassis was in very good
shape. |
|
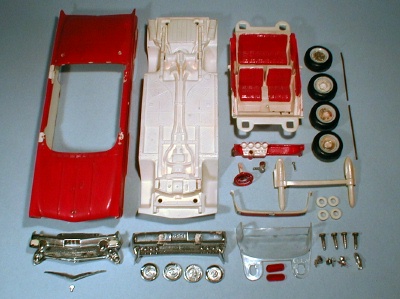
7/18/00 - The first step was disassembly. Fortunately the original builder used
glue sparingly, so it came apart easily. |
|
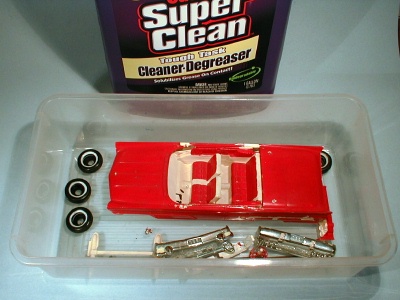 11/23/00 - Next came stripping the old paint. I used Castrol Super Clean to do the
job, a tip I picked up from the online Model Car List. 11/23/00 - Next came stripping the old paint. I used Castrol Super Clean to do the
job, a tip I picked up from the online Model Car List. |
|
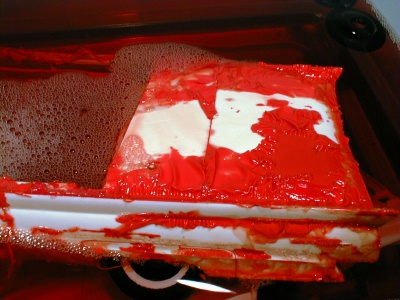 11/23/00 - The CSC worked great! In just a couple of hours the old paint began to
slide right off. 11/23/00 - The CSC worked great! In just a couple of hours the old paint began to
slide right off. |
|
11/23/00 - This was the first time I had tried this method, and it remains my preferred
way to strip paint. |
|
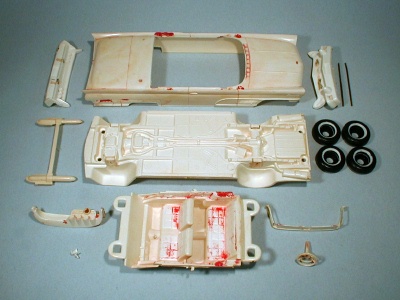
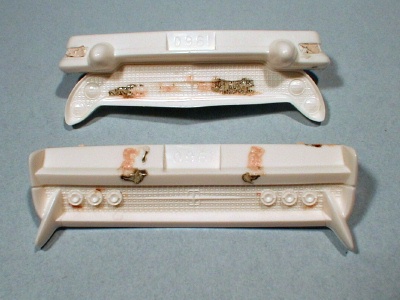 11/23/00 - Unfortunately the glue had damaged the front and rear grille/bumper assemblies
beyond repair. 11/23/00 - Unfortunately the glue had damaged the front and rear grille/bumper assemblies
beyond repair. |
|
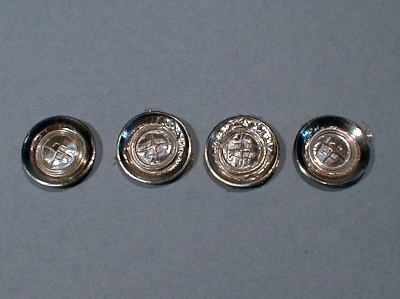
11/23/00 - The hubcaps were also unsalvagable. Replacement parts were ordered from The Modelhaus. |
|
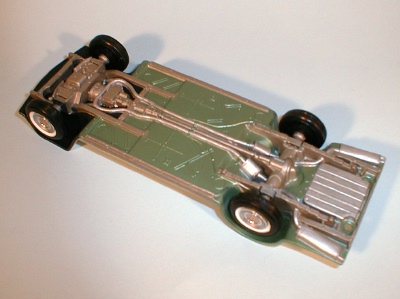
12/12/00 - This shows the completed chassis. |
|
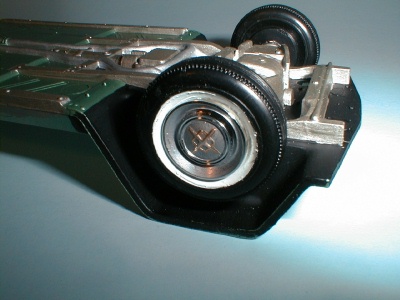
12/12/00 - I was particularly pleased with the way the hubcap detailing came out.
I used gold foil for the hubcap emblems and for the fender scripts. |
|
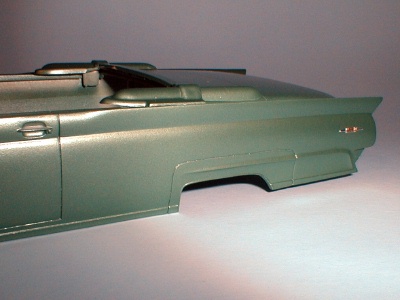
12/12/00 - Damage to the rear quarter panels was repaired using sprue-glue filler,
another tip I got from The Model Car List. |
|
12/12/00 - Factory Authentic paint came from MCW Automotive Finishes. |
|
