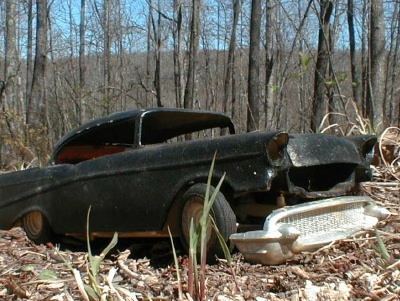
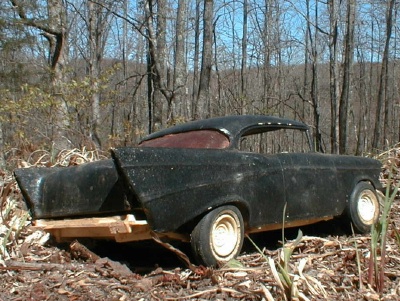
One afternoon I was driving
through the country enjoying the sights, when right around a bend in
the road I came across a derelect '57 Chevy hardtop. It was pretty beat
up, but I decided if I could locate the owner, it would be worth buying.
The owner turned out to be an old farmer, and I managed to talk him
into swapping the old Chevy for two cows and a hog. It took some work
to haul it back to the shop, and the tow truck driver probably thought
I was nuts...
Okay. Back to reality...
|
|
|
| 4/10/00 - Actually,
a friend of mine dug this along with a bunch of other old kits out of his
attic. He had built them as a kid back in the 60s, and most were in a similar
condition as the old Chevy. But I thought it would be a fun project to see
just how far gone a model could be and still be salvagable. Hence the name... |
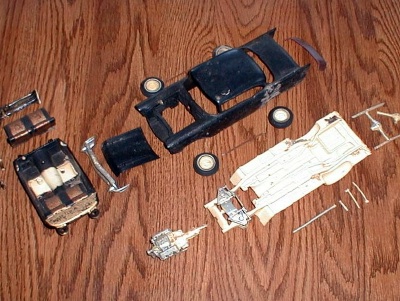
4/10/00 - It came apart fairly easily. To say the least, I had my work cut out for
me. A lot of parts were missing or damaged. |
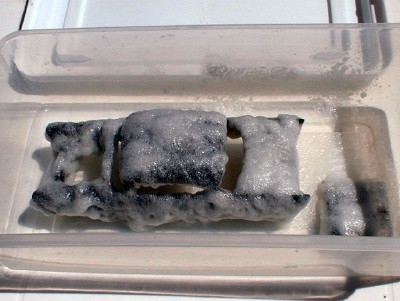
4/10/00 - The first thing I did was strip the paint using oven cleaner. It was thick,
but most of it came off relatively easily. I've since started using Castrol
Super Clean® for
paint stripping, and I think it's a better choice. |
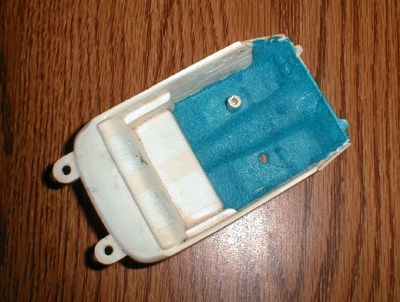
4/26/00 - I decided to use this project as a test of several techniques I had been
wanting to try out. While the body was being reworked, I tackled the interior.
I applied flocking in the floor area to simulate carpeting. |
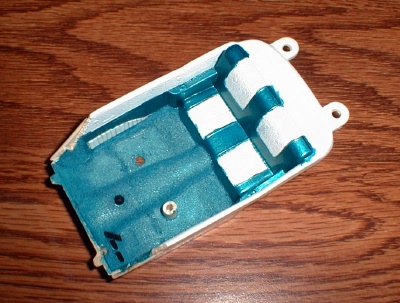
4/28/00 - I also painted the seats and side panels as a base for what was coming
next.
|
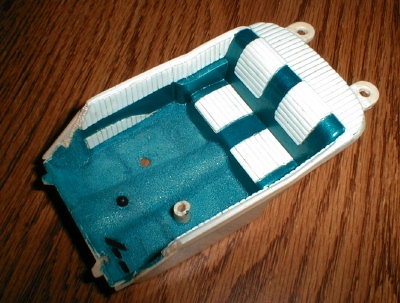
9/21/02 - I wanted to simulate tuck 'n' roll uphoulstery in some areas. I found
some plastic lacing material (the kind kids used to weave together to
make keychains). I thought it would be perfect for the job. |
|
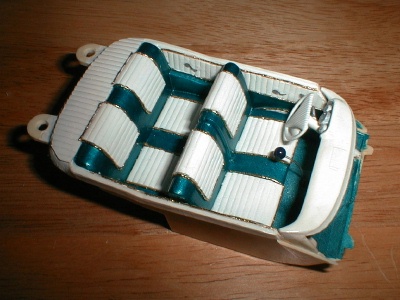
Here's the finished interior.
In the same craft section of the local discount store, I also found
some gold thread I used as trim. Since this time, I've discovered a
better way to simulate the tuck 'n' roll. Check out the method on the '49
Merc custom pages. |
|
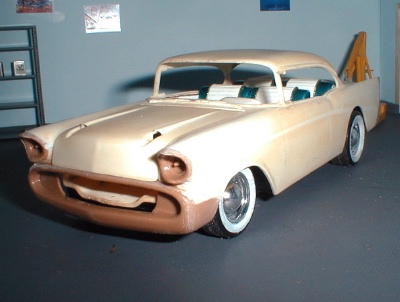 3/22/01 - I used the custom parts from the reissued version of the original AMT '57 Chevy. 3/22/01 - I used the custom parts from the reissued version of the original AMT '57 Chevy. |
|
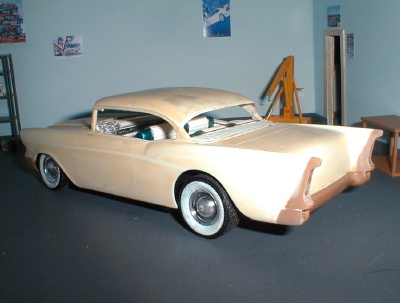
3/22/01 - I also removed the side trim and radiused the rear wheel openings. |
|
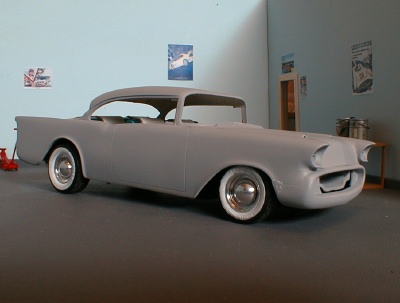
4/12/01 - The first coat of primer has been laid down here. |
|
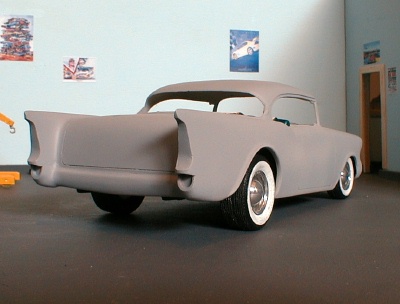
4/12/01 - Still a bit of body work remaining. |
|
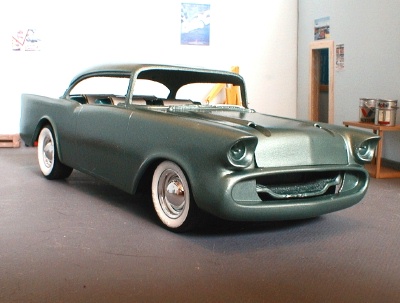
4/21/01 - Here is is with the base color coat applied. |
|
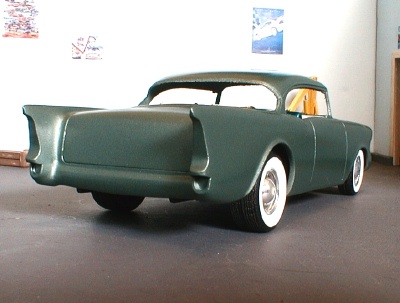
4/21/01 - The paint is a custom mix that I put together from some leftovers. |
|
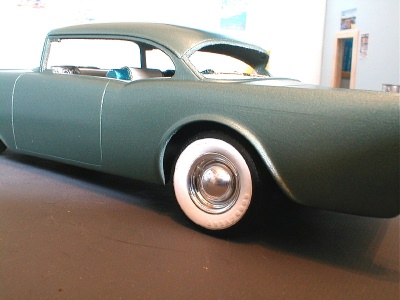
4/21/01 - I made a flair around the rear wheel openings using strip styrene and filler. |
|
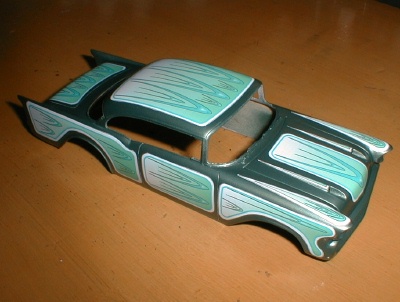
10/25/01 - I made decals to simulate
panel painting and scallops in the style of the late 50s and early 60s. Click
here to check out the technique. |
|


