| |
 |
Step
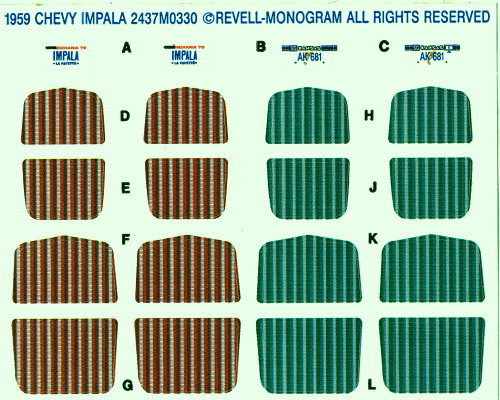
one was to scan the original sticker sheet into my computer. I used a high
scan resolution (600 dpi) so that the finished product would be good quality.
I was planning to use the red section of the sticker sheet because it was
closest to the color I wanted to achieve. |
|
| |
 |
Then I imported
the scanned image into one of the graphics programs on my computer, in this
case, Image Expert®. Using the image corrections feature of the program,
I increased the amount of green in the image. |
|
| |
 |
It helps to
know a little bit about how different colors are made up. In this case,
I knew that adding green to the scanned image would shift the red colored
area to a brownish hue. This is what resulted. |
|
| |
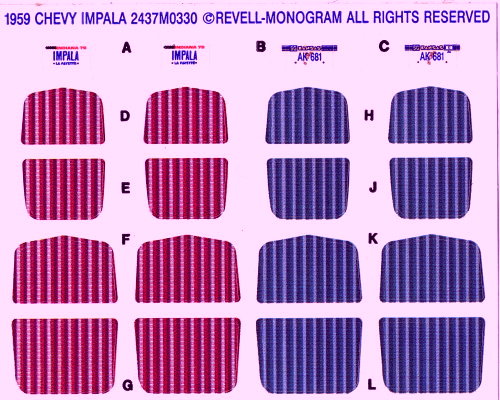 |
By adding and/or
subtracting various colors, you can pretty much shift things around to anything
you want. In this example I added magenta. |
|
| |
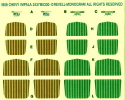 |
And this is
what it looks like with both yellow and green added. |
|
| |
|
Once the color
looked right on my monitor, I cropped the image. |
|
| |
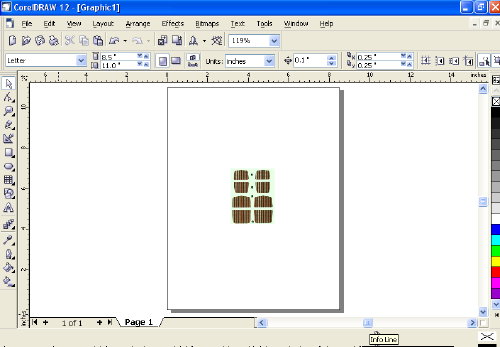 |
Next, I imported
the image into Corel Draw® to print it out, making sure that the image
remained the right size. You might have to alter some of these steps, depending
on the graphics program(s) you are using. I printed it out on heavy paper. |
|
| |
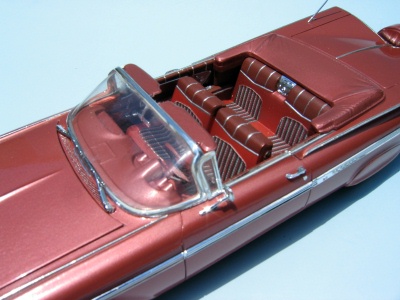 |
Finally. I trimmed
the individual inserts, cemented them in place and coated them with flat
lacquer to seal them. This process would work with just about anything,
including decals. For decals you would just print them out on decal paper
instead of plain paper. |
|

