
'60 Sunliner
Saga
Text
& Photos by
the Webmaster
 |
'60 Sunliner
Saga |
| AMT released the 1960 Ford Sunliner convertible as part of their annual 3-in-1 kit lineup. Like most of the other kits that year, the Sunliner was produced from the promo tooling, with the addition of extra customizing parts. The most important difference was the plastic used. Promos were molded in an acetate type plastic, whereas the kits were produced in styrene. Acetate has a tendancy to warp over the years; styrene does not. So in seeking out an older model, I almost always go with the kit versions. As far as I know, this particular kit has never been reissued, which make it somewhat rare. I found these three Sunliners on eBay® and although they all needed work, the basics were there. In all three cases, although customizing parts were used by the original builders, the important features, trim, emblems, scripts, etc. were still intact, which meant that showroom stock restorations were possible. |
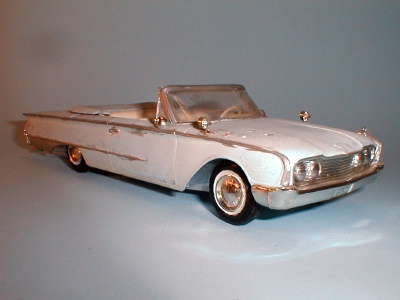 No. 1 was the
most complete of the three, and was missing only one fender ornament. No. 1 was the
most complete of the three, and was missing only one fender ornament. |
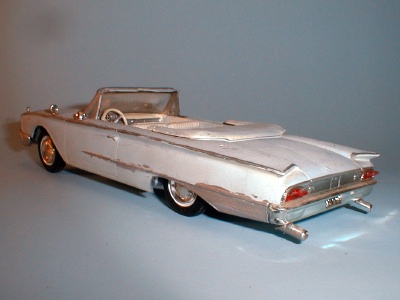 I was a little
concerned because it had been spray painted with some
type of paint that has caused crazing of the surface. I was a little
concerned because it had been spray painted with some
type of paint that has caused crazing of the surface. |
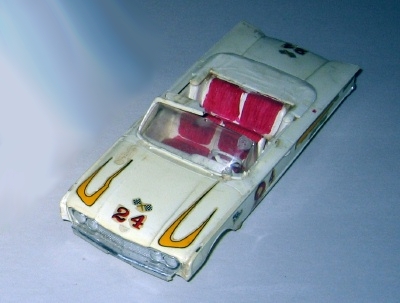 No. 2 was unpainted but was missing a number of parts. The windshield frame and front bumper were broken. |
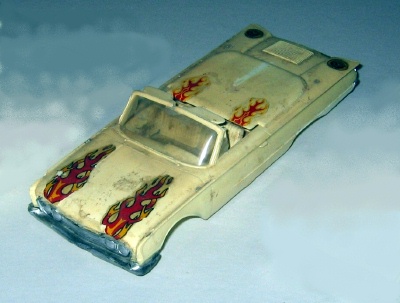 No. 3 was the roughest of the three, with a broken windshield frame and missing parts. |
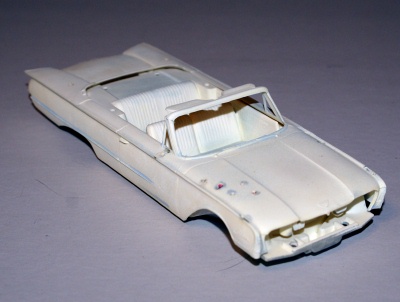 No. 1 after an overnight soak in Castrol Super Clean® to strip the paint. Note the holes in the hood where customizing parts had originally been used. |
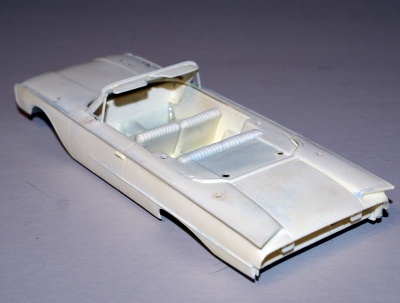 After the paint was stripped, I was pleasantly surprised to find that there was no actual crazing of the plastic. |
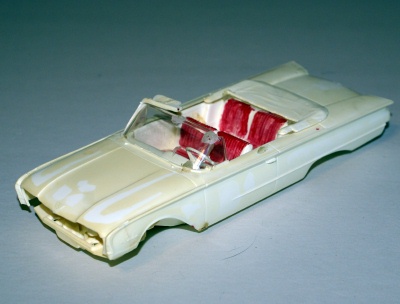 No. 2 after the Castrol treatment, which works great on removing decals as well as paint. |
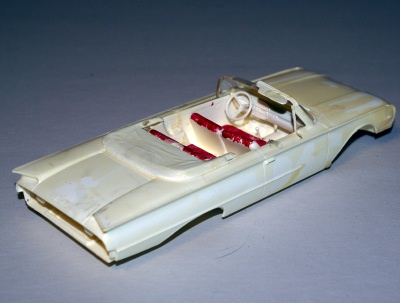 With the exception of the damaged windshield frame, this one required the least amount of body work. |
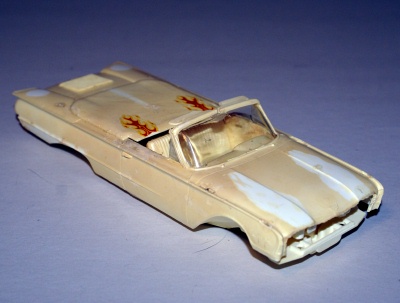 Here's No. 3 after the Lake Castrol bath. |
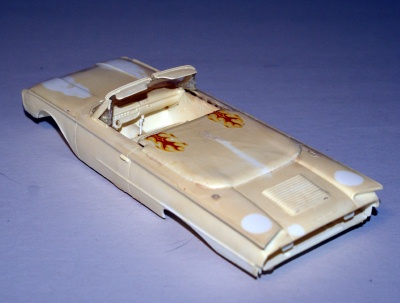 The biggest problem with this one was removal of the tonneau cover and louvers on the trunk lid. |
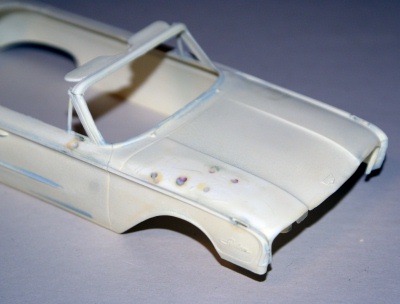 No. 1 with holes in the hood filled with sprue/glue filler. |
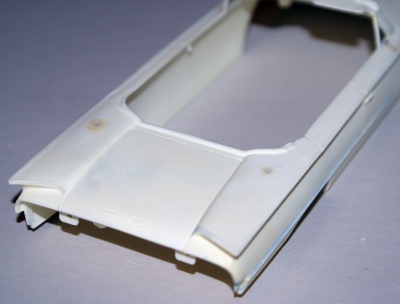 Holes filled with sprue/glue on the rear. |
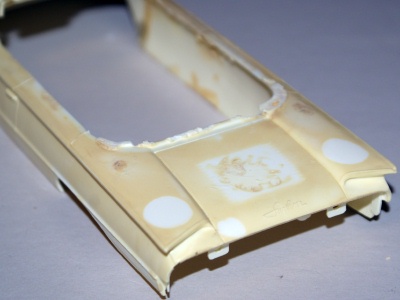 No. 3 with the tonneau cover and louvers on the trunk lid removed. |
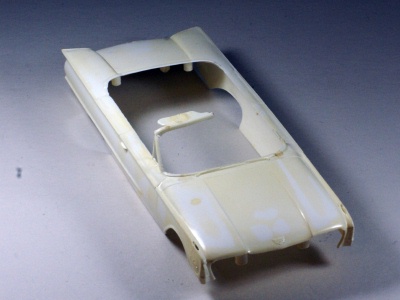 No. 2 ready for windshield frame replacement. |
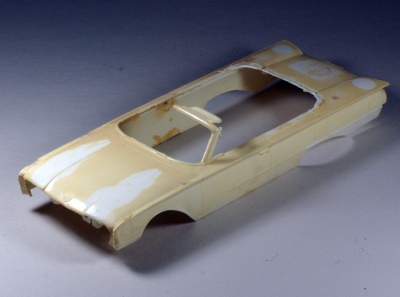 No. 3 ready for windshield frame replacement. |
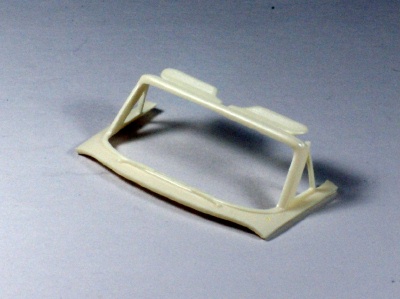 To replace the broken windshield frames on No. 2 and No. 3 I used a resin replacement part from The Modelhaus. |
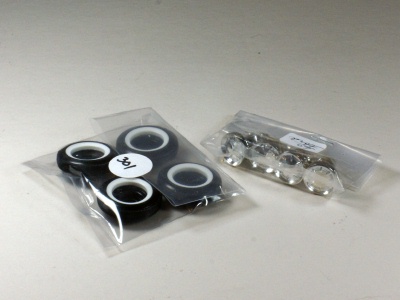 The Modelhaus also provided replacement wheels & tires for No. 2 and No. 3. |
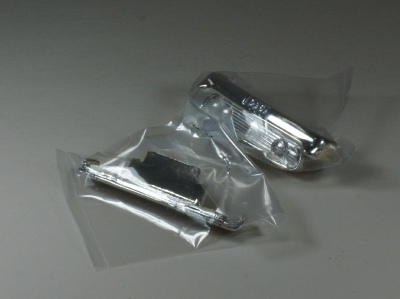 Modelhaus replacement front and rear bumper/grille for No. 2. |
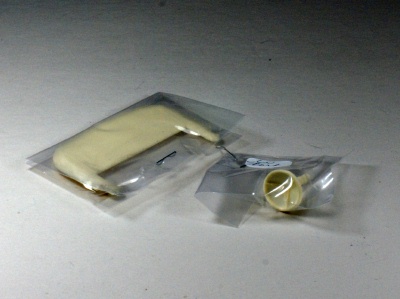 Replacement boot and steering wheel for No. 3, also from The Modelhaus. |
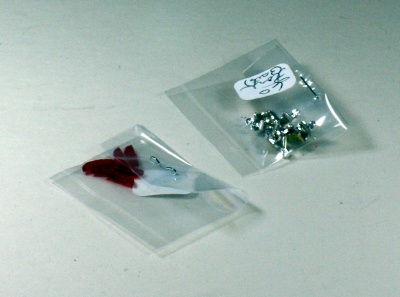 All three needed Modelhaus replacement parts for taillights and fender ornaments. |
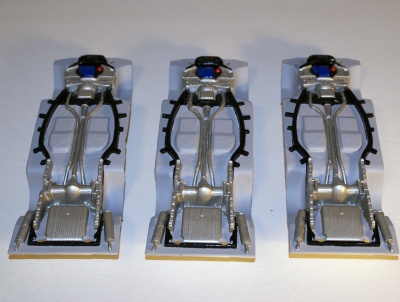 Here are the finished chassis assemblies. |
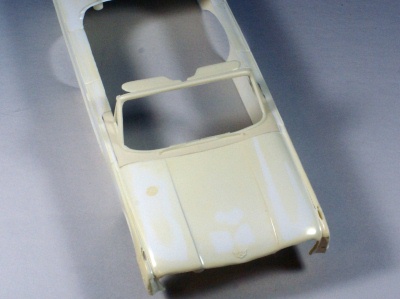 No. 2 with the new resin windshield frame in place. As you can see from the photo, the replacement part included the cowl area as well as adjacent sections of the upper door areas. Installing the replacement part involved carefully removing the old plastic along the rear hood opening and upper door areas with some gradual cutting and shaping until the new part fit snugly. |
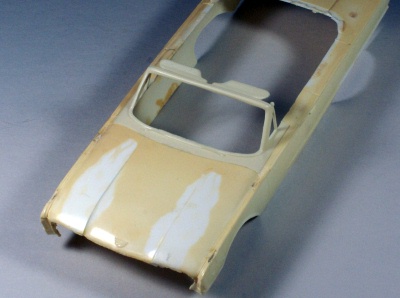 No. 3 with the replacement windshield frame in place. I used super glue to attach the new parts. |
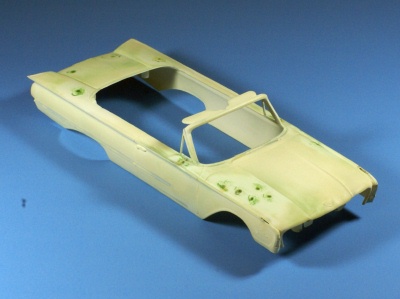 No. 1 with the basic body work finished. For the final body filler I switched to Squadron Green Putty. |
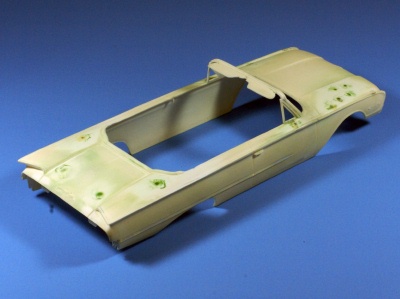 No. 1 finished body work. |
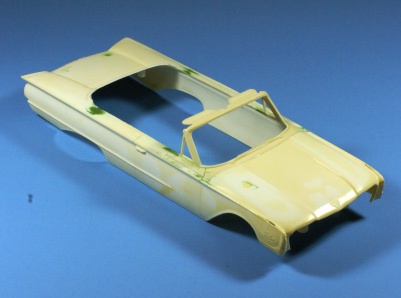 No. 2 finished body work. |
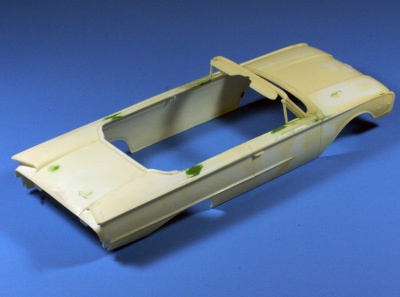 No. 2 finished body work. |
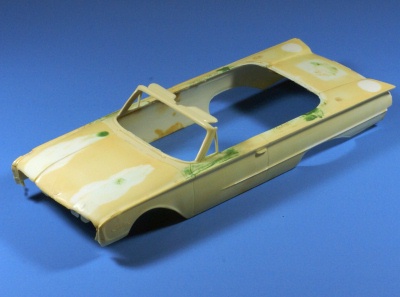 No. 3 finished body work. |
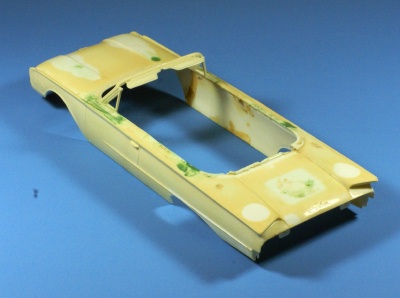 No. 3 finished body work. |
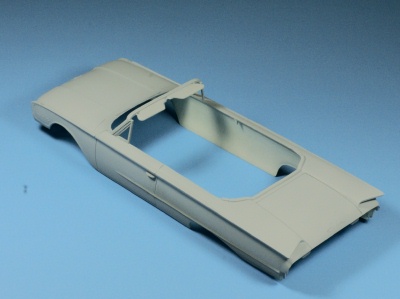 No. 1 with first coat of primer. At this point there's still some minor touch-up body work needed on all three. I applied the first coats of primer so I could more easily see what was needed. |
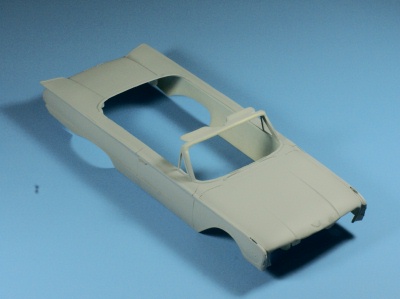 No. 1 second coat of primer. |
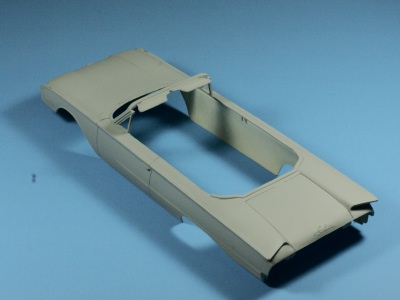 No. 2 second coat of primer. |
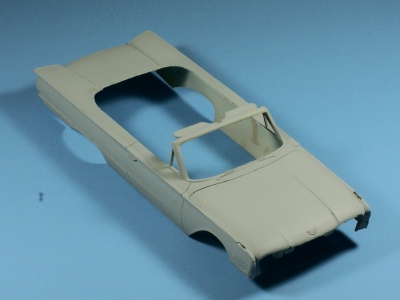 No. 3 second coat of primer. |
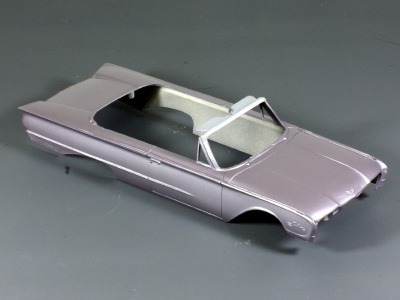 No. 1 in Orchid Gray Metallic from MCW Automotive Finishes. |
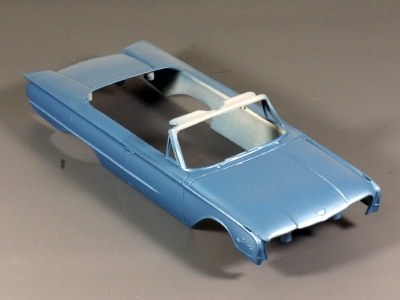 No. 2 in Belmont Blue. |
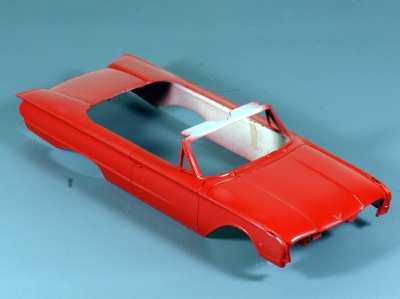 No. 3 in Monte Carlo Red. |
 While I was waiting for the paint to cure, I decided to tackle the windshields. As you can see, all three had heavy glue damage. |
 But unless the clear plastic parts are cracked or broken, they can usually be restored with a little effort. Click here to see the full article on restoring glass in our Tips & Tricks section. |
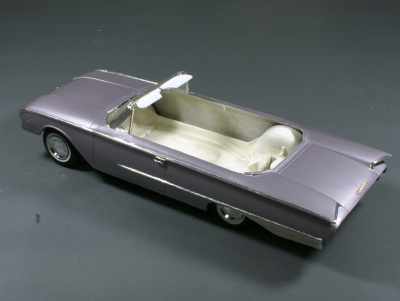 No. 1, polished with Bare Metal Foil applied |
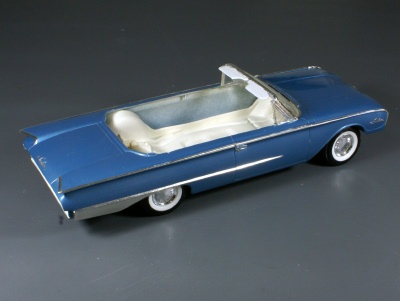 No. 2, polished & foiled |
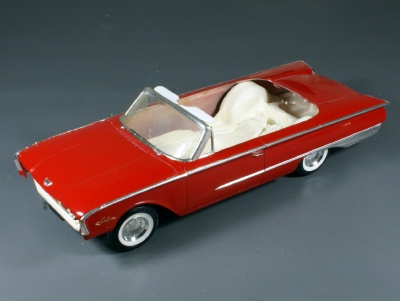 No. 3, polished & foiled |
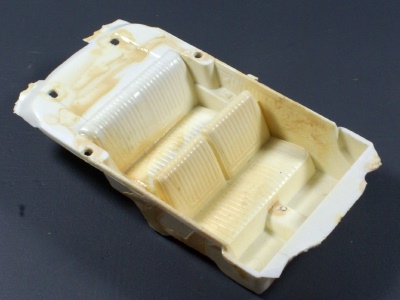
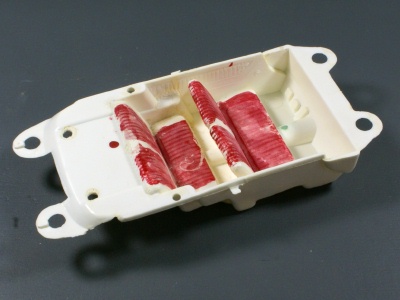 The interior tub of No. 2 was too badly damaged to salvage. |
 Same for the tub of No. 3 |
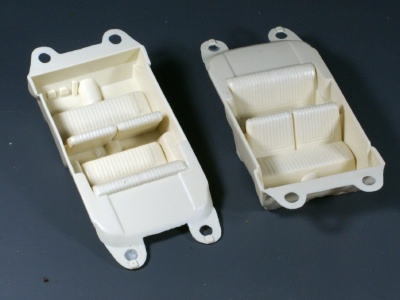 So once again it was The Modelhaus to the rescue with cast resin replacements. |
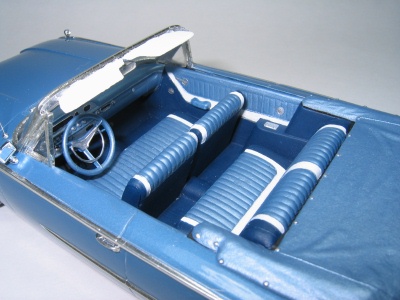 Here's the finished interior of No. 2. I added a couple of details that were missing from the original kit, armrests on the front doors shaped from scrap plastic, and the horn ring, made from thin stainless steel wire. |
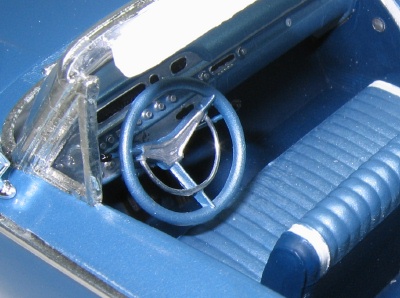 Although they're a bit difficult to see in the photo, I also made shift and turn signal levers from common household straight pins. |
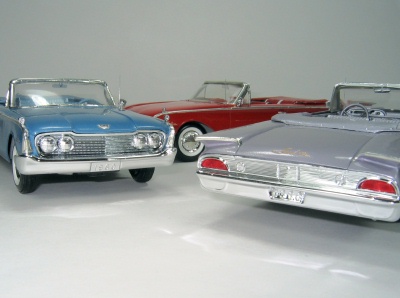 Just about the time I had finished up the interiors, the replated front and rear bumper/grille assemblies arrived from Chrome Tech USA. |
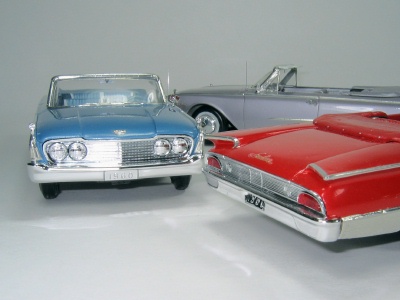 Then it was just a matter of installing the replacement Modelhaus fender ornaments and taillights, doing the final detailing, and assembly. |
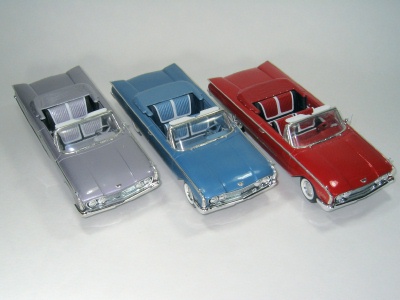 To say the least, this turned out to be a very time consuming and involved project. |
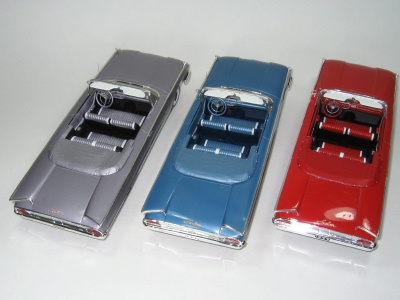 But I was very pleased with the finished products, so the effort was well worth while. |
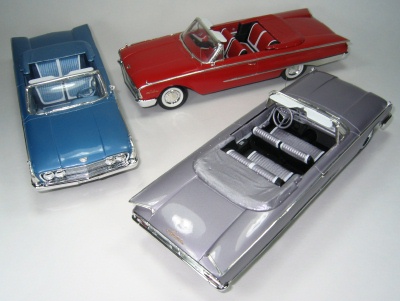 I've not only added three fairly rare models to my collection... |
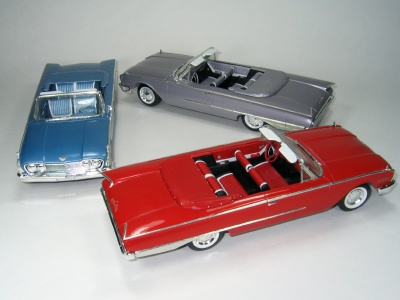 ...I've also gotten a tremendous amount of satisfaction from preserving some of the early history of the model car hobby. A couple of years later I sold the red Sunliner to a collector in Finland. |